How to Paint and Customize Carbon Fiber Parts Without Losing Strength
👁 Reads: 1136
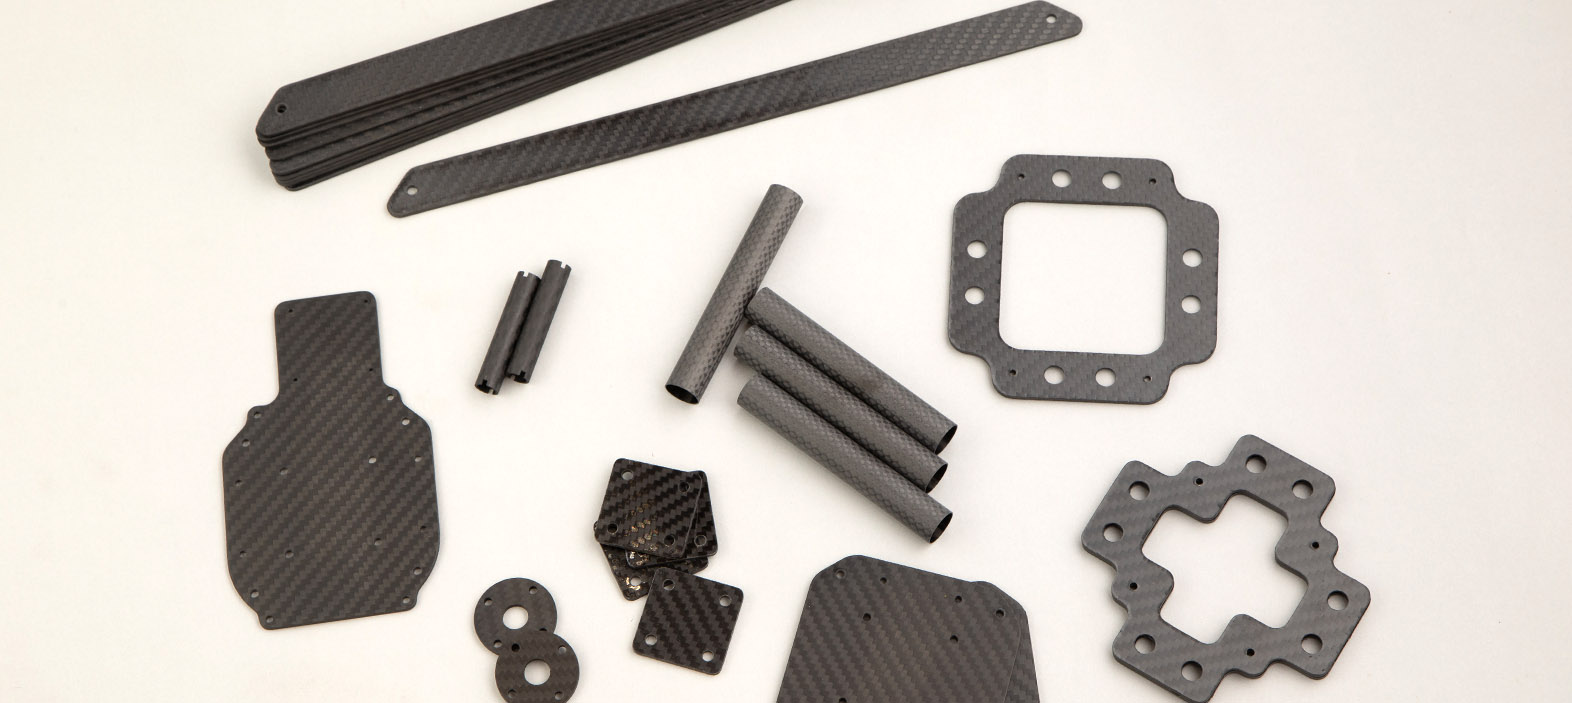
Carbon fiber is a premium material known for its exceptional strength-to-weight ratio and other incredible attributes, making it a favourite for automotive, aerospace, and sporting applications. The composite material is exploring new horizons, stepping into industries such as medical, fashion and industrial applications. This calls for aesthetic painting and customizing to cater to its end use. However, painting and customizing carbon fiber can be tricky. Unlike metal or plastic, carbon fiber requires special preparation and coatings to maintain adhesion and durability without compromising its structural integrity.
In this guide, we’ll walk you through the right techniques for painting and finishing carbon fiber while preserving its strength and aesthetics.
Why Painting Carbon Fiber is Different
Unlike conventional materials, carbon fiber has a resin-infused surface that can resist standard paints and primers. During its manufacturing process, it is often customized for matte and glossy finishes with uni-directional and bi-directional weave patterns. Moreover, improper sanding or excessive heat during the painting process can weaken the fiber structure. To ensure a professional finish while maintaining strength, a proper approach is required.
Step 1: Surface Preparation
1.1 Cleaning the Surface
Before any painting or customization, thoroughly clean the carbon fiber part using a mild detergent and water. Remove grease, dirt, and contaminants that can interfere with adhesion. Isopropyl alcohol can also be used to wipe down the surface for optimal cleanliness.
1.2 Sanding Without Damaging the Fibers
Lightly scuff the surface using fine-grit sandpaper (400-600 grit) to create a rough texture for better paint adhesion. Be careful not to sand through the resin and expose the actual fibers, as this can weaken the structure and cause aesthetic issues.
Step 2: Applying a Carbon Fiber-Safe Primer
A standard automotive primer won’t adhere well to carbon fiber. Instead, use a carbon fiber-specific adhesion promoter before applying a flexible, high-build primer.
- Apply the adhesion promoter in a thin, even coat and let it flash (dry) according to the manufacturer’s instructions.
- Follow up with a urethane or epoxy-based primer designed for composites. This helps create a smooth surface for the final paint application.
Step 3: Choosing the Right Paint
For a durable and professional finish, use urethane-based or acrylic enamel automotive paints. These paints offer flexibility, preventing cracking due to carbon fiber's natural expansion and contraction.
If you want to retain the original carbon fiber weave pattern while adding a custom tint, transparent candy or tinted clear coats can be applied instead of opaque paints.
Step 4: Applying the Paint
4.1 Spraying Technique
- Use a high-quality spray gun or airbrush for an even application.
- Apply multiple thin coats rather than a single heavy coat to prevent runs and ensure better adhesion.
- Allow proper flash time between coats as recommended by the paint manufacturer.
4.2 Custom Designs and Graphics
For custom carbon fiber designs, use vinyl stencils, masking techniques, or airbrushing. Layered painting with precise masking can create intricate patterns while maintaining a lightweight and durable finish.
Step 5: Sealing with a High-Quality Clear Coat
5.1 Importance of a Protective Clear Coat
Since carbon fiber is often exposed to UV light and environmental elements, applying a high-quality automotive-grade clear coat is essential.
- Use a UV-resistant, high-gloss polyurethane or ceramic clear coat to protect the paint and underlying fiber from fading or yellowing.
- Apply multiple thin coats with proper drying time between layers.
- Wet sand and polish for a flawless, mirror-like finish if desired.
Common Mistakes to Avoid
There are a lot of technical details in the process of painting and customizing carbon fiber parts and needs to follow some guidelines. Some common mistakes are:
- Skipping surface prep: Poor adhesion results in peeling and chipping. This step will not only compromise the paint and customization but also its integral structure.
- Over-sanding: Exposing raw carbon fibers weakens the structure, while too less will not allow the paint to stick.
- Using the wrong primer: Regular primers won’t bond properly to carbon fiber surfaces so make informed choices.
- Applying excessive heat during painting or curing: Though carbon fiber composite surfaces are heat-resistant, the constant exposure can weaken resin bonding and affect strength.
- Neglecting UV protection: Unprotected carbon fiber will degrade over time under sunlight exposure.
Real-World Applications
Painting and customising carbon fiber parts happen in various industries. Some of them are:
- Automotive: Custom-painted carbon fiber hoods, spoilers, and body panels.
- Motorcycles: Painted carbon fiber tanks and fairings for a unique aesthetic.
- Sports Equipment: Custom designs on carbon fiber bicycles, helmets, and racing gear.
Painting and customizing carbon fiber parts is a precise process that requires the right materials and techniques to maintain strength and durability. By following the correct surface preparation, using specialized primers and paints, and finishing with a UV-protective clear coat, you can achieve a stunning, long-lasting finish without compromising performance. To not compromise with its structural integrity always consult professional services of manufacturers to customize your carbon fiber composite products.
Whether you're working on an automotive project, motorcycle parts, or sports equipment, these steps will help you create a professional-quality, customized carbon fiber look.